Connecting Roku to a TV is not a big deal, just read this entire article carefully, You will do it very easily.
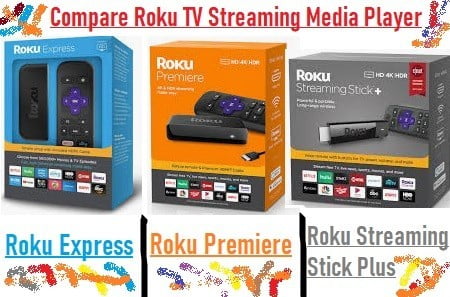
Roku is a popular streaming device that makes your TV smart. By installing this, you can enjoy your favorite movies, TV shows, episodes, and other content through popular streaming apps including Netflix, Amazon Prime Video, Hotstar, Hulu, and many other apps.

How To Connect Roku To TV?
To connect Roku to TV, you need to follow these steps:
- Prepare everything you need:
- Roku Device
- HDMI Cable
- A Wi-Fi Network connected to your internet connection
2. Connect your Roku Stick or Roku Player to your TV: You can connect the Streaming Stick directly, or if you have a Roku Player connect it with an HDMI Cable.

OR
If your TV doesn’t have an HDMI port, use a composite cable.
- Connect Your Roku Player or Stick to the Power: Connect the USB Power Cable and Adapter to each other, and plug your power adapter into the wall outlet.
- Power On Your TV: Turn on your TV and select the input where connected to the Roku device. you will see the Roku logo as your Roku device power on.
- Insert Batteries: To insert the batteries in your Roku remote, from the backside, slide open the battery cover and insert the batteries.
Setup And Activation
- Choose your preferred language
- You should connect your Roku device to your network and the internet wifi connection
- After connection to the internet, your Roku device will check software update is available, download, and reboot
- To connect Roku account online visit roku.com/link and enter the code shown on your tv
- A message will appear “Do you have a Roku account” Then sign in or create a new account
- After creating an account or signing in, you have to verify your PIN code to make a purchase
- Then provide your payment information Credit or Debit Card No. You can select ‘skip, I’ll do later option also
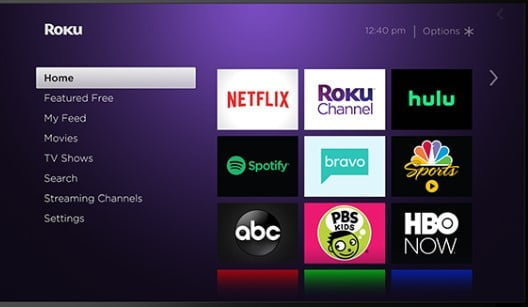
- Now you can add your favorite Roku channels to stream live TV and all your choice of content to your TV directly through the internet
To get the complete setup information visit Roku Setup. But here we will tell you in simple words:

Connect Your Roku Device To Your TV Easily
- Turn on the TV and switch to the HDMI input:
- Switch to the HDMI port you want to connect to the Roku.
2. Plug the Roku device into the HDMI port:
- Connect one end of the HDMI cable to the Roku device and the other end to the HDMI port on the TV.
3. Connect the Roku device to a power supply:
- Connect a Roku device to a power supply.
4. Turn on the Roku remote and pair:
- Turn on the Roku remote and pair it with the Roku device. The pairing process will appear on the Roku device’s screen.
5. Connect to your Wi-Fi network:
- Connect the Roku device to your Wi-Fi network by following the on-screen instructions.
6. Activate Roku:
- Follow the on-screen instructions to activate Roku. You’ll receive an activation code that you will need to enter on your Roku website.
7. Download your favorite apps:
- On the Roku home screen, you can download and install your favorite streaming apps.
Some additional tips:
- HDMI port: Make sure you choose the correct HDMI port.
- Wi-Fi signal: Roku requires a strong Wi-Fi signal.
- Updates: Always keep your Roku device and apps updated.
If you run into any issues, you can check out the instructions on Roku’s website or contact Roku customer service.
Conclusion: Roku is a great streaming device that looks like a pen drive that plugs into your TV’s HDMI port and makes it smart. It is easy to set up and even easier to use. Once you have it set, you can enjoy your favorite content and cable TV channels by installing the available apps in the Roku Channel Store.
Hopefully, now you’ll not have any problem connecting your Roku to the TV. Still, if this happens, then tell us by writing in the comment box or you can contact customer service on Roku’s official website.
Frequently Asked Questions
Q: Why Is My Roku Remote Not Pairing?
Ans: It’s a simple matter of the Roku remote getting unpaired, and it’s often due to problems with power, a wi-fi network, or random glitches. So, make sure your batteries are installed correctly and aren’t damaged, try installing new batteries and also take the remote apart and clean it once.
Q: Can I Use My Phone As a Roku Remote?
Ans: Yes, you can use your phone as a Roku remote. For this, you will need to install the Roku mobile app on your phone. Then, connect the app to your Roku device. Once connected, you can control Roku using your phone.
With this app, you can use your phone’s touchscreen, voice commands, and keyboard to control Roku. This can make your Roku experience even easier and more convenient.
Q: How To Reboot Roku TV?
Ans: To Reboot your Roku TV, Go to Settings >> System >> Power >> System Restart.